From Wooded Front Yard to Lawn: Clearing Trees & Brush
We recently helped a homeowner turn a wooded, ivy-covered front yard into a usable lawn. Here’s how we safely clear small trees, brush, ivy, and stumps on residential lots.
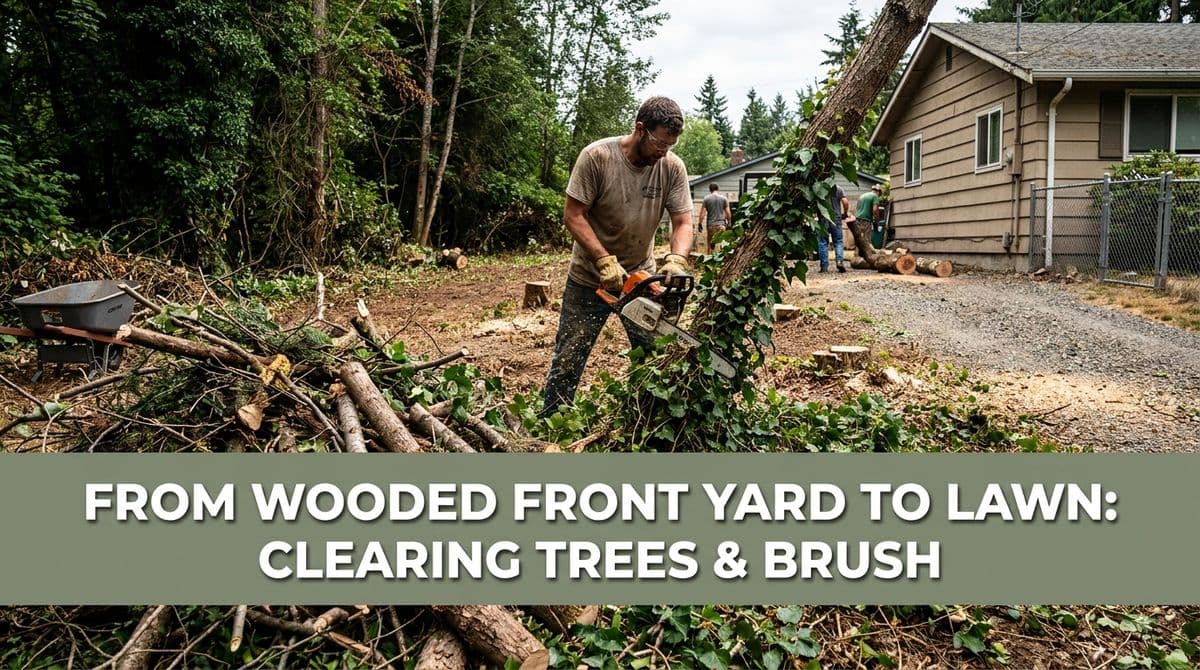
From Wooded Front Yard to Lawn: A Real-World Example
We recently got a call from a homeowner — let's call him David — in a Matthews neighborhood who was staring at a front yard that felt more like a tiny forest than a lawn. He told us he had small trees, stumps, brush, and a mat of ivy that had taken over what should have been usable space. His goal was simple: clear it out and turn it into a clean, green front lawn.
Like many homeowners, David wasn’t exactly sure how big the area was. He guessed about 100 by 50 feet, which is actually a pretty sizable section when talking about trees, vines, and stumps on a yard like his. We walked him through the process step by step, and we want to share that same game plan with anyone else thinking about turning a wooded yard into lawn.
Step 1: Figure Out What Needs to Go (and What Stays)
When David first called, he said, “I don’t even know the size of it. I’ve never actually measured it.” That’s extremely common. Homeowners don’t need exact blueprints before calling, but having a general idea of the area and what’s on it is helpful.
When we walk a yard like David’s, we look for:
- Small trees (usually under 6–8 inches in diameter)
- Brush and saplings that create a thicket
- Groundcover ivy or vines climbing trees and fences
- Visible stumps and surface roots
- Hidden obstacles like rocks, debris, or old fence lines
We also ask homeowners which trees they want to keep. Sometimes a couple of shade trees or ornamentals can be saved and worked into the new lawn design. Marking “keep” trees before any clearing starts prevents costly mistakes.
Step 2: Safety First When Clearing Small Trees and Brush
On a front-yard project like David’s, safety is the first priority because of proximity to streets, sidewalks, and neighbors. Even small trees can do serious damage if they’re dropped the wrong way.
Our typical safe approach includes:
- Surveying the area for power lines, irrigation heads, and buried utilities
- Using the right equipment (saws, brush cutters, or compact machinery sized for residential lots)
- Controlling fall direction of small trees to keep them away from homes, cars, and walkways
- Working in sections so we always have clear escape paths and visibility
Homeowners sometimes think small trees are “easy” to tackle with a chainsaw and a free weekend. The most common problems we see after DIY attempts are limbs dropped on fences, ruts left by rented machines, and half-finished piles of brush that the trash service won’t touch. A planned, professional approach prevents those headaches.
Step 3: Dealing With Ivy and Vines So They Don’t Come Back
David was particularly frustrated by the ivy blanket in his front yard. It had woven between roots, wrapped around trees, and made the whole area feel messy and unusable.
Our approach to ivy and invasive vines usually includes:
- Cutting vines at the base of trees and letting anything up high die off naturally
- Mechanically removing as much root and surface growth as practical
- Hauling away or chipping debris so it doesn’t re-root in piles
- Planning follow-up control (spot treatments or hand-pulling new sprouts)
No one can promise that ivy will never try to come back, but a thorough initial clearing combined with some simple follow-up maintenance makes a huge difference. We always talk through a basic maintenance plan with homeowners so the new lawn doesn’t slowly turn back into a vine patch.
Step 4: Stumps, Roots, and Getting Ready for Grass
Once trees and brush are gone, stumps and roots become the next challenge. On a future lawn like David’s front yard, leaving high stumps or big surface roots is a recipe for mower damage and twisted ankles.
Depending on the site and budget, we typically:
- Grind stumps below grade so they don’t interfere with mowing
- Remove or shave down surface roots that would show through thin topsoil
- Rough grade the area to create a smooth, gently sloped surface
- Add or redistribute soil where needed to fill low spots and improve drainage
Common Mistakes Homeowners Make (and How We Avoid Them)
After seeing a lot of projects like David’s, we notice the same issues when clearing is done piecemeal or without a plan:
- Leaving stumps too high: Stumps cut a foot off the ground are hard to mow around and become tripping hazards.
- Skipping grading: Clearing the vegetation but not leveling the area leaves a bumpy, uneven lawn that holds water in low spots.
- Burying debris: Pushing brush into shallow pits creates sinkholes and rot pockets that show up years later.
- Not planning drainage: Removing trees without thinking about runoff can send water toward foundations or neighboring properties.
We design clearing work with the final lawn in mind. That means cutting stumps properly, cleaning up roots, grading for drainage, and leaving a surface that is actually ready for seed or sod.
Pricing and Timeline: What Affects the Cost?
On the phone with David, we explained that for this type of work we charge by the hour — in our case, $250 per hour with a six-hour minimum, which comes to $1,500 to get started. For a front yard that’s roughly 100 by 50 feet, that’s usually a day’s worth of work, depending on conditions.
Several factors can push the price up or down:
- Access: Wide, flat access for equipment is faster and cheaper than squeezing machines through a side gate or working entirely by hand.
- Slope: Steep or uneven ground slows work and may require special equipment.
- Number and size of stumps: A few small stumps are quick to grind; many larger ones take longer and cost more.
- Debris handling: Leaving chips on-site, stacking logs, or hauling and disposing off-site all affect time and disposal fees.
- Underground surprises: Old fence posts, buried concrete, or rock can add labor and machine time.
That’s why, just like with David, we prefer to walk the property before giving a firm estimate. Over the phone, a yard can sound straightforward, but when we get on-site there might be hidden debris, tight access, or HOA restrictions that change the scope. A quick site visit keeps pricing fair and expectations clear.
HOA Neighborhoods: What to Check Before Clearing
David mentioned that his yard was in a typical Matthews neighborhood, and many of those developments have homeowners’ associations. Before starting work in an HOA community, it is smart for homeowners to:
- Review the covenants for rules about tree removal, front-yard changes, and erosion control.
- Ask if approval is needed for major landscape changes, especially in front yards.
- Check for required tree counts or replacement rules if certain trees are removed.
- Confirm work hours and parking rules for equipment and trucks.
We are always happy to provide a written scope of work or basic site sketch that homeowners can share with an HOA if needed. A little paperwork up front avoids warnings and fines later.
Turning That Wooded Patch into a Usable Lawn
By the time we finish a project like David’s, the transformation is dramatic: no more thicket of brush, no more ivy jungle, and no more awkward stumps in the middle of the yard. Instead, there’s a clean, graded space that’s ready for grass and finally matches the rest of the neighborhood.
If a “mini forest” in the front yard is making it hard to enjoy a property — or drawing attention from the HOA — a careful plan for clearing trees, brush, ivy, and stumps can turn it into usable lawn without sacrificing safety or budget. Walking the site, talking through goals, and pricing transparently are the first steps toward that new front yard.