DIY vs. Hiring a Pro: Clear a Shed Area & Stumps
Planning a backyard shed? Learn when you can safely DIY clearing a small area and dealing with tree stumps, and when it pays to call in a pro crew.
Clearing a Small Backyard for a Shed: DIY or Call a Pro?
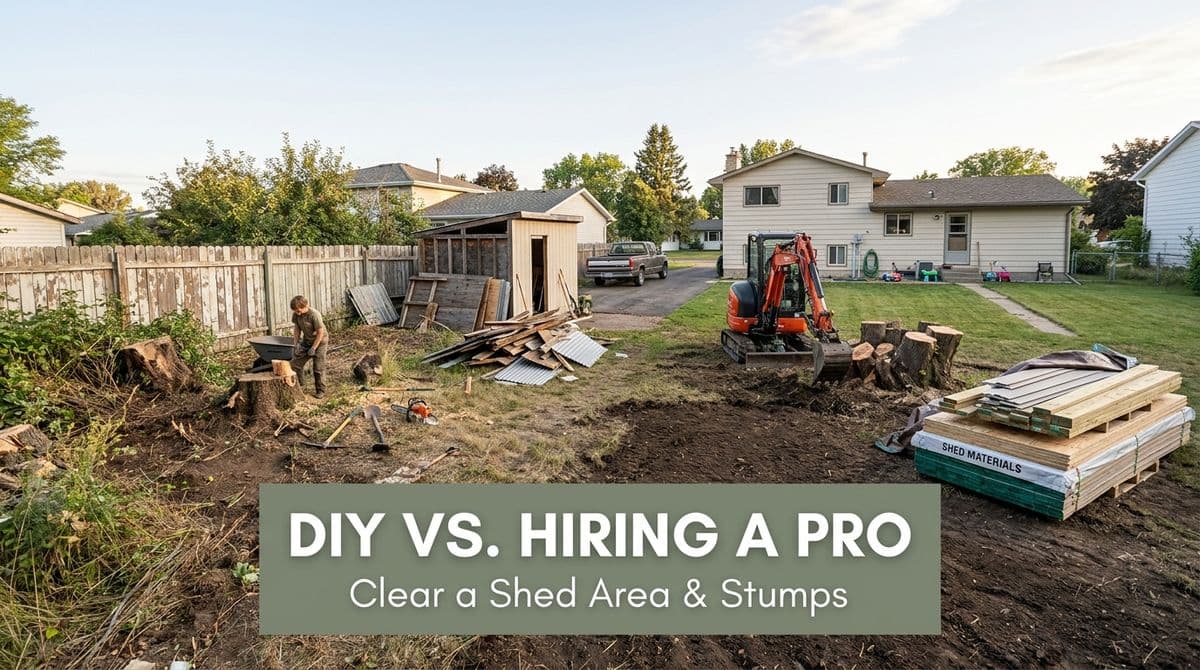
We recently got a call from a homeowner — let's call him Brian — who wanted to clear a small patch in his backyard for a new shed. The area was about 20' x 25', full of weeds that had grown back after he knocked them down, and it had three or four small tree stumps, each about 2–3 inches in diameter.
Brian’s plan was to set the shed on cinder blocks, not a full concrete foundation. His big questions were:
- “Can I safely DIY this instead of paying a contractor?”
- “Do these small stumps really need to be removed, or can I just cut them low and build over them?”
- “Is it worth renting equipment, or should I just hire it out?”
We walked Brian through the same decision we help a lot of homeowners think through: when a DIY approach makes sense, and when it’s smarter (and safer) to bring in a pro.
Step One: Decide What Kind of Shed You’re Installing
The first thing we always ask is what kind of structure you’re putting in. In Brian’s case, the shed was going on cinder blocks, not on poured concrete footings.
That difference matters:
- Permanent shed with concrete footings or slab: You do not want any stumps, roots, or organic material under the foundation. Those can rot, shrink, or regrow, leading to settling and cracks.
- Non‑permanent shed on blocks or skids: You have more flexibility. Small stumps can sometimes be cut flush, managed, and built around, as long as the shed is properly supported and level.
Because Brian’s shed was going on cinder blocks and wasn’t a permanent foundation, we told him he had more options on how aggressively he needed to deal with the stumps.
Dealing With Small Tree Stumps: Cut Flush or Remove?
Brian had what we see in a lot of older, lightly wooded backyards: small “weed trees” that were cut down and left with about a foot of stump sticking up. His main concern was whether he could just cut those down to ground level and put the shed over top.
Here’s the honest breakdown we shared:
- Option 1 – Cut stumps flush to the ground: This is usually the cheapest approach for a shed on blocks. You cut the stump as low as you can without burying your saw in dirt, then cover and build.
- Option 2 – Grind or remove the stumps: This is the cleanest solution, especially if you want the option to pour a slab later or landscape the area.
For Brian’s small stumps and non‑permanent shed, we told him cutting them flush was acceptable, with one important extra step: lay down a landscape fabric or weed barrier over the area before you set the blocks and floor.
That fabric helps in two ways:
- It reduces sunlight to the stump, making it harder for it to send up new shoots.
- It slows weed growth under and around the shed.
Could the tree try to send up a shoot? Maybe. But with the shed, blocks, and fabric cutting off light, it’s very unlikely to become a real problem in a small, lightly loaded area like this.
DIY Tools vs. Renting Equipment
Brian, like many handy homeowners, was debating whether to rent a small machine. He mentioned he could get a compact loader for around a few hundred dollars, and he was hoping to avoid spending close to a thousand on a full professional visit.
We walked him through a middle‑ground option that often works well for small stumps: a rental stump grinder.
When a Stump Grinder Makes Sense
Instead of fighting the stumps with a chainsaw and burning through multiple chains trying to stay out of the dirt, we suggested Brian look into renting a walk‑behind stump grinder for a few hours. Many local rental yards and some big box stores carry them.
Pros of a stump grinder:
- More efficient: Chews stumps down below grade instead of just to the surface.
- Protects your chainsaw: No destroying chain after chain in the soil.
- Decent cost for small jobs: Often a 4‑hour rental for a couple hundred dollars.
Cons to keep in mind:
- They can be physically demanding to run, especially if you’re not used to it.
- You’ll still need to clean up grindings if you want a very level finish.
For Brian’s 2–3 inch stumps, we told him a combination approach could work great: cut them down as low as safely possible with a saw, then use a small grinder to take them just below grade so they’re out of the way of his cinder blocks.
When It Makes Sense to Hire a Pro Instead
We’re always upfront when a job doesn’t really justify the cost of bringing in a full crew and heavy equipment. There’s a lot built into our hourly rates — liability insurance, workers’ comp, maintenance, fuel, and the time it takes to mobilize equipment and get it to your site.
For a tiny 20' x 25' patch with a few small stumps, we told Brian what we’d tell anyone:
- If you have a free Saturday and are comfortable with tools, DIY is usually the most economical route.
- If the area were larger, the stumps bigger, or the shed foundation permanent, then hiring a pro becomes easier to justify.
- Sometimes we can bundle small jobs nearby into another project day to shave costs, but there’s still a minimum just to cover mobilization.
In Brian’s case, we told him directly: for this size project, he could very likely save a lot of money by renting a small machine or grinder and tackling it himself, as long as he felt safe doing so.
Practical DIY Steps to Prep a Shed Area
If you’re in a similar situation and leaning toward doing it yourself, here’s a simple process you can follow:
- Mark your shed footprint. Use stakes and string to lay out the 4 corners and outline of your shed.
- Cut vegetation down. Weed‑whack or mow the area as low as possible. Remove larger brush and branches by hand.
- Deal with stumps.
- Cut them flush with a chainsaw or handsaw, staying out of the dirt so you don’t dull the blade.
- For a cleaner result, rent a small stump grinder and take them a few inches below grade.
- Rake and level. Rake out debris, fill any low spots with compactable soil or gravel, and roughly level the area.
- Add weed barrier. Lay landscape fabric over the footprint to help control future growth.
- Set your blocks or skids. Place cinder blocks or skids, level them carefully, and then install the shed per the manufacturer’s instructions.
Not Sure Which Way to Go? Here’s Our Rule of Thumb
We wrapped up our call with Brian by telling him this: if your shed is non‑permanent, the area is relatively small, and your stumps are only a couple of inches across, DIY usually makes financial sense if you’re physically able and comfortable with the tools.
If you’re dealing with large trees, a bigger clearing, a permanent foundation, or a tight space near fences and utilities, that’s when bringing in a professional crew can save you from costly mistakes and safety risks.
If you’re on the fence about your own project, reach out and describe your backyard and plans. We’re always happy to talk through whether it’s a good DIY candidate or a situation where having us handle the clearing and stumps will pay off in the long run.